I always planned on putting a description online to help people out, but I'm a procrastinator. Now the problem is that it has been such a long time, I barely remember how I did it. I'll try my best to describe the process. If someone out there has a question for me, post it on my blog and I'll do my best to respond.
Before we get to the actual process of replacing the light bulb, I need to point out a couple of things.
- Let me start out by saying that if you want to do this without unscrewing a bunch of things on the car, then you are going to need some thin, girlish fingers (like mine), or make friends with someone that has some. If you or your friend are not girly enough then I would recommend just taking the car to a shop. I know, I know... "Take the car to a shop to change a bulb?! You're crazy!" The things that you are going to have to unscrew to get to the bulb include the windshield washer fluid tank and the front bumper. I'd rather pay the $30 or so to have someone else do that
- You'll need some old clothes to do this job. You are going to be laying underneath the car for about an hour trying to fiddle with this light bulb, so you are going to need some clothes that can get dirty. I would also recommend a clean broken down cardboard box to lay on. It's cheap, insulated, somewhat soft, and thin.
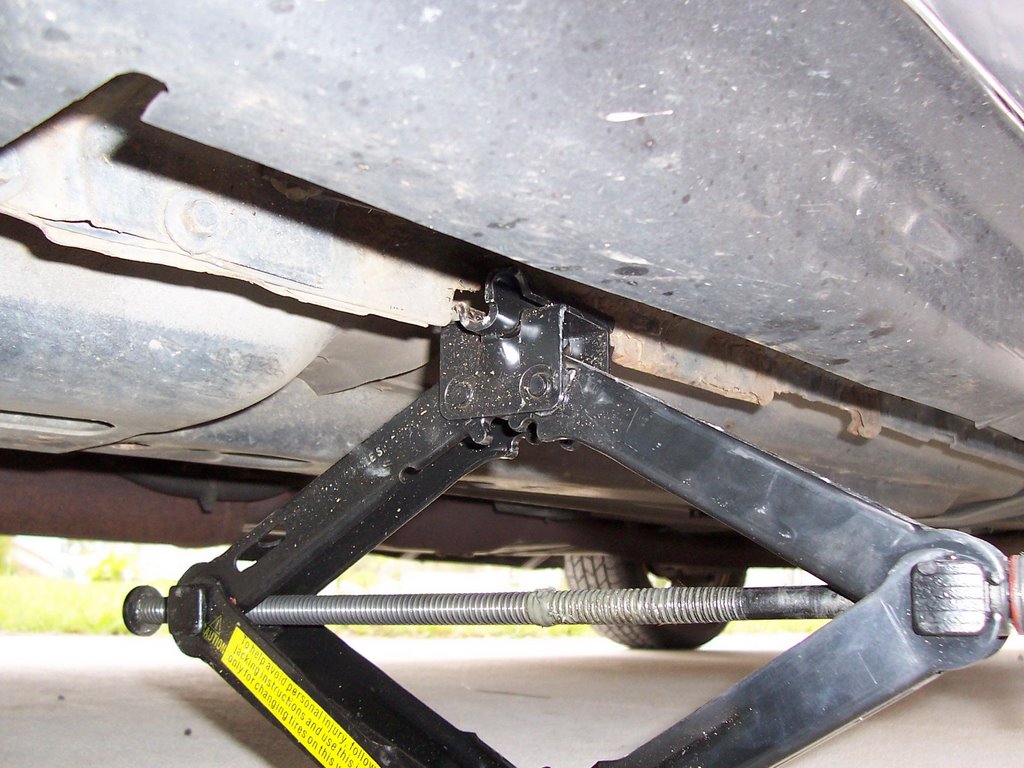
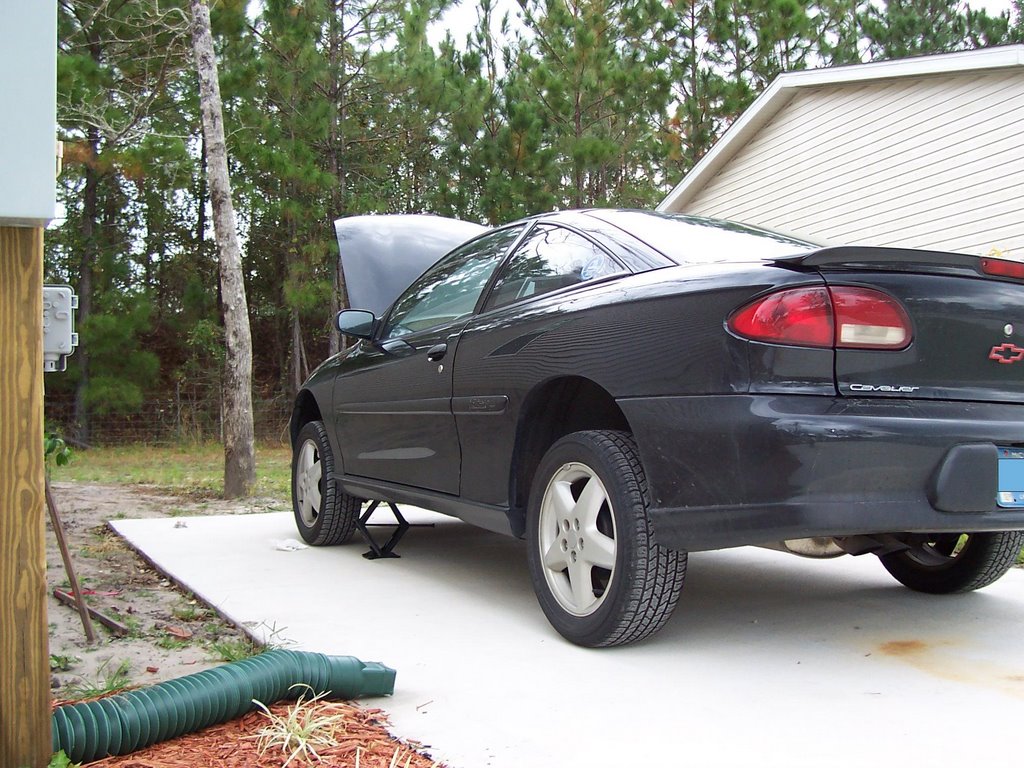
Ok, so first you want to jack up the car. It'll make it easier to crawl underneath to get to the bulb. If you are doing this in a garage, then you'll probably want to have a flashlight handy. If you are doing this outside, like I did, then you can open the hood to get a little more light.

Step 2:
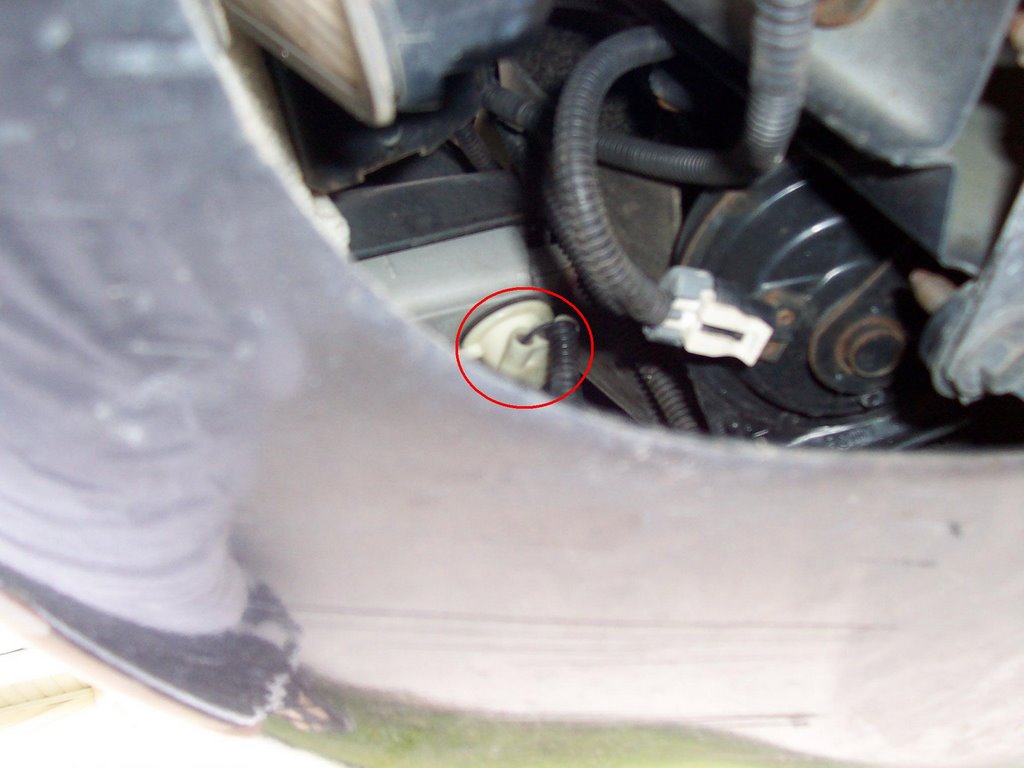
Next, you'll want to see what the bulb looks like. The bulb on the passenger side looks exactly the same and much easier to get to. The picture below is of the passenger side bulb. I would also practice taking the taking the passenger side bulb in and out. When you do the driver's side, you won't be able to see the bulb as you reach for it, so you are going to have to go by your sense of touch.
Step 3:
Now comes the tricky part, removing the driver's side turn signal bulb. From what I remember, it's not easy to see the driver's side bulb and impossible to see it while you are trying to remove it. Try looking through the gaps around where the bottom of the windshield washer fluid tank is attached to the another part of the car. You should be able to catch a glimpse of the bulb. Once you see it, you are going to have to reach through the gap and try to remove the bulb the same way as you practiced with the passenger side bulb. You practiced, didn't you? I vaguely remember getting a better handle on the bulb by reaching through the gap closer to the top of the following picture. You will definitely need patience to do this, it's not easy. Also, keep track of which way you turned the bulb to get it out. I don't remember if it was the same as the passenger side or not. Remembering which way you turned it to get it out will come in handy when you are trying to put it back in.

Step 4:
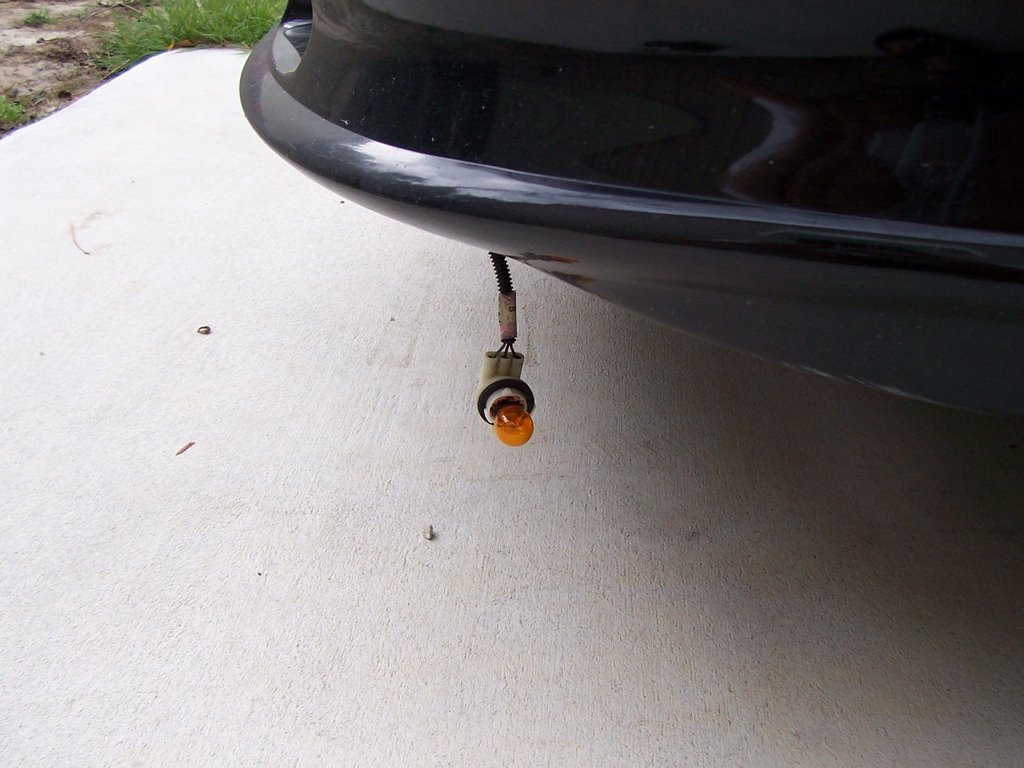
Well, hopefully that didn't take too long. Now that you have the bulb out, as shown below, it's a simple matter of taking out the old one and putting in a new one. Once you plug the new one in, turn on your hazard lights just to make sure the bulb works and it's not some kind of wacky electrical problem, which Cavaliers are known for.
Step 5:
Now you have to put the new bulb back into the turn signal lens. I remember this being harder to do than taking it out. Once again, you will have to use your sense of touch because you won't be able to see anything. When you actually get the bulb in the opening for the turn signal lens, you have to turn it so that it locks into place. Voila, you have a working turn signal again!

In conclusion, let me apologize for the fairly useless pictures. The installed bulb is nearly impossible to see and even harder to get a picture of. Overall though, I hope this description is able to provide a bit of help on the subject. Good luck!
No comments:
Post a Comment